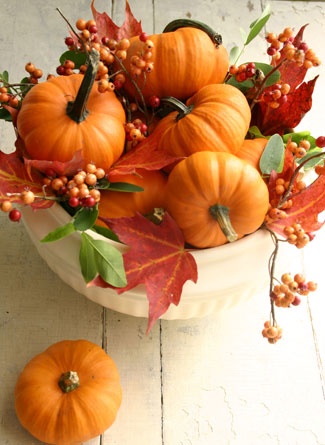
On these walks of mine, I often collect fallen leaves I find during my search for amazing photo shots. When I was little, I used to keep these leaves between the pages of an old book. Now I just put them in a small vase until they dry completely.
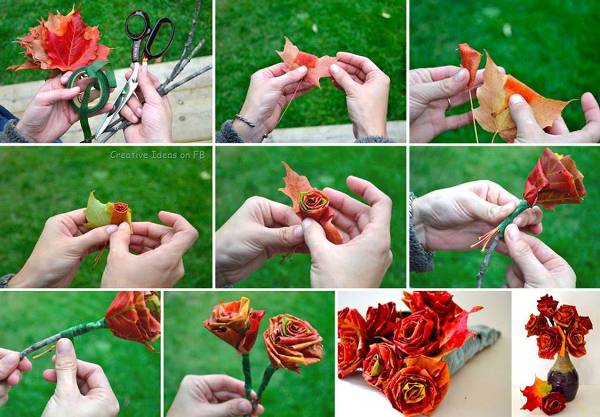
But recently I came across a very clever idea what to do with fallen maple leaves. Apparently, some creative person thought of a way to fold maple leaves into roses. Amazing! The autumn bouquet looks very cute and I will definitely try this idea during my next walk in the park.
Here is the full tutorial for creating roses out of maple leaves:
]]>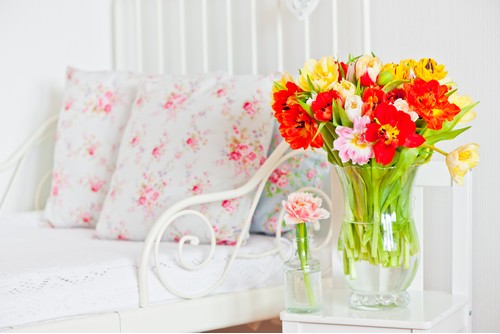
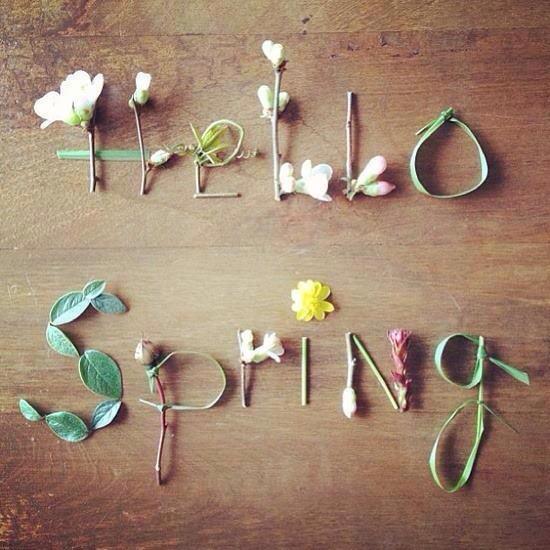
Spring is the season of warm sun, cool breeze, radiant smiles and good mood. Welcome spring in your home by using these great 7 décor ideas.
Colourful Tree
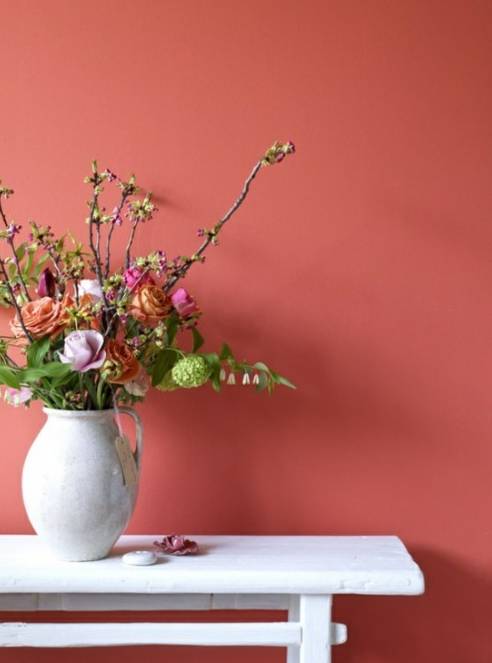
Make yourself a colourful tree, so you can feel the spring spirit at home. Gather a bouquet of branches or look for one big branch with several smaller ones on it. Arrange them in a beautiful vase. Quick tip: if you want the vase to be more stable, you can put small decorative rocks on the bottom.
Afterwards, you can decorate the tree with colourful ribbons or origami paper flowers.
Spring Lamp
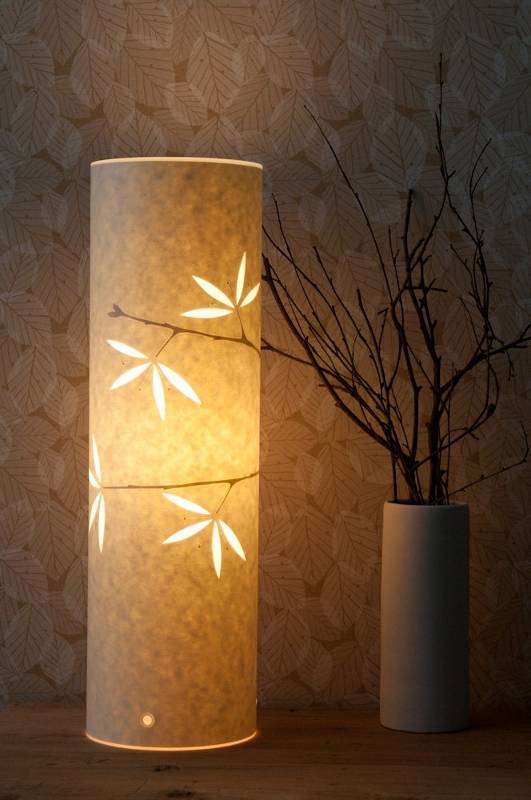
The making of a spring lamp is the perfect excuse for renovating the boring old lamp. Choose an appropriate sheet of paper and roll it into a cylinder. You can draw butterflies and flowers on the paper or you can use stickers with spring motives. Another great idea is to perforate the paper with a needle and create different objects with it. In this way when you turn on the light, the shapes will start dancing on the walls.
Spring Walls

It is never too late to decorate the walls in your living room with interesting paintings. Embrace the spring inspiration and arrange a mini exhibition. For this idea, you will need a set of 3 square frames, which you will later arrange horizontally above the sofa.
The pictures or paintings which will be framed are entirely your choice. Some people prefer watercolour paintings of spring flowers. Others would rather see captured memories with the loved ones. Third choose positive and inspiring thoughts of great people.
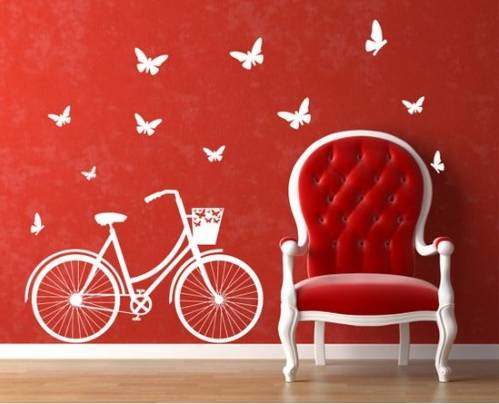
The other option for spring decoration of the walls is to paint them in lively bright colours. Or just add some accents by using butterfly and flower patterns or stickers. Just have in mind that if you live in a rented property, you should ask your landlord first if you are allowed to do such changes. Otherwise, you might be extra charged for this later on when your landlord hire an inventory services team to inspect the property.
For a Good Appetite
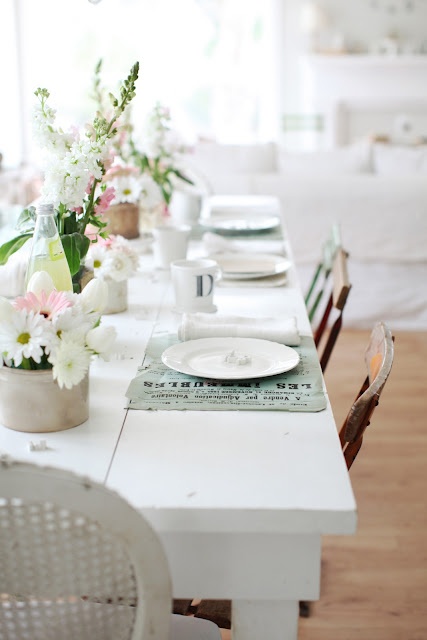
The spring spirit should be spotted on the table as well. Create your own cases for kitchen utensils. You will need 2 rectangular pieces of cloth (in pastel colours if possible), one longer than the other. Sew them together and leave the upper part open or half-sewed, so you will be able to place the utensils inside. To make the cases more interesting, embroider spring flowers on them.
For creating a spring themed table you can also use colourful napkins, dishes and cups. Make a selection of your favourite spring flowers and arrange them in a centrepiece for the table.
Green Accents
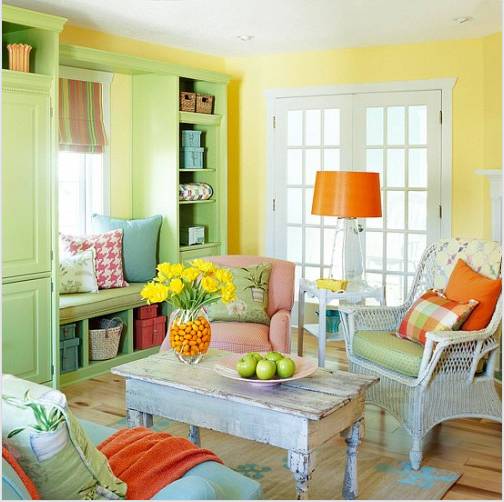
The colour green is the trademark of spring. It gives fresh and energizing look of every room, so bravely decorate with it. You can paint one of the walls in green or choose an element of the home décor in green, such as pillows, tablecloths, curtains, armchairs, etc.
Half Curtain
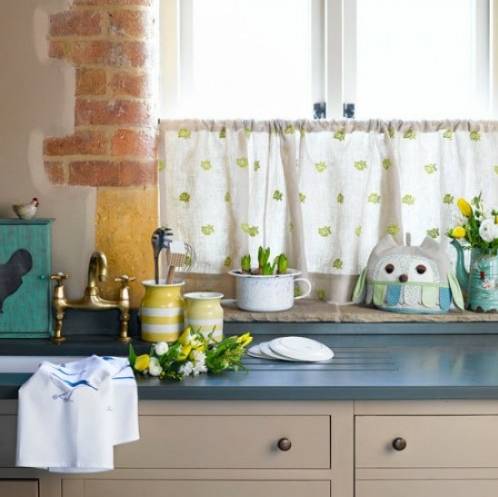
It may sound strange to you but curtains which cover only half of the window are the hit in home decoration for the year of 2013. Floral patterns and retro lace can turn any curtain into a vintage one, which will make your kitchen look cosier. You can even use it for covering a kitchen cabinet.
Spring Garden Décor
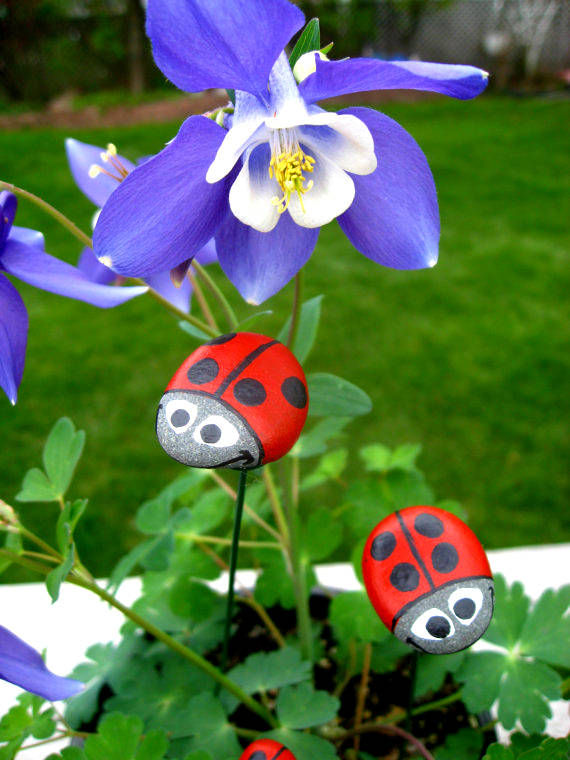 During spring the air is sweet with so many fragrant flowers, which you can successfully grow in your garden. When you arrange the flower pots, you can decorate your garden with ladybug pebbles. For the purpose, you will need several flat pebbles, black and red paint and a brush. Use them to draw the ladybugs and don’t forget to put eyes and a mouth as well. When they are finished, spread them around the flower pots or inside them.
Another great idea is to cut out paper butterflies. Ask your kids to colour them in bright colours and then glue the butterflies to sticks or straws and insert them in the flower pots.
]]>Related posts:
]]> ]]>
]]>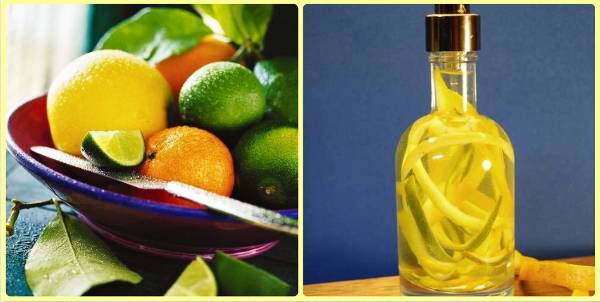
You will need:
- 1-2 lemons or limes
- 1 orange
- 200ml water
- 200ml vodka
Instructions:
- Grate the rind of the lemons and oranges or cut it into thin stripes.
- Put the citrus rind in a plastic or glass bottle with a sprayer. You can also use an empty detergent vial or a window cleanser bottle.
- Add the water and vodka in it and let it stay for several days, so the liquid ingredients will have enough time to absorb the fruit scent.
- Every morning, when you ventilate your home, spray a couple of times with your DIY air freshener and enjoy the amazing fresh smell.
Additional Tip:
For even richer fragrance, add around dozen drops of lavender, mint, ginger or another essential oil to the air freshener.
Spring will come earlier in your home!
]]>
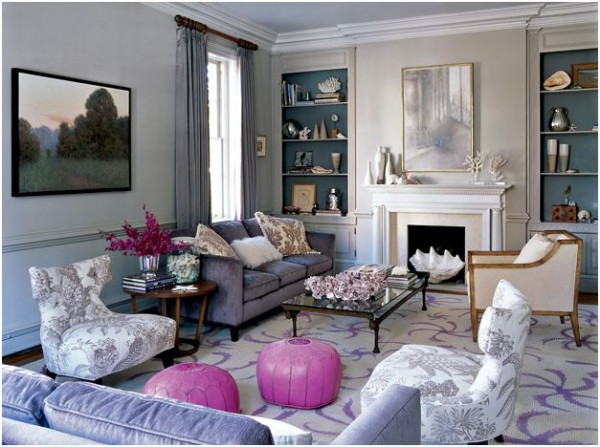
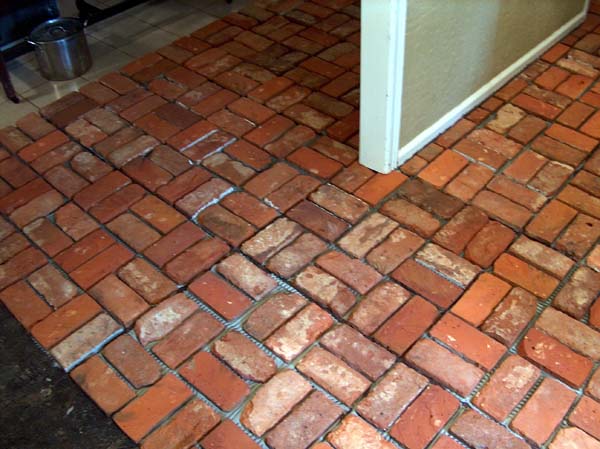
Old items, which can still be found in your grandparents house, have become very modern again. They are the perfect match for a home, decorated in the warm industrial style. Typical for such a home are peeling or brick walls, which are covered with newspapers, magazines or book pages. Or they can simply be left unpainted.
When it comes to decorating warm industrial home, you can experiment by combining contemporary art with old vintage items. Below you can find a list of the most appropriate things for this purpose and you can gain inspiration about their location in the apartment from the gallery at the end.
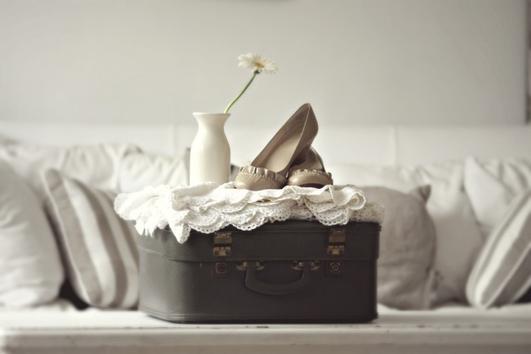
Suitcase

The older, the better! It will be lovely, if there are still stamps or labels on it, which remind for former journeys. When the suitcase is retired and becomes a part of the home interior, you can use it as a table, a drawer, a bed for your pet, a shelf and more.
Bicycle

It looks undeniably artistic on the wall. The bicycle can be used as a stand for flower pots or the more creative people can find an extraordinary place for it – in the bathroom for example.
Typewriter or Sewing Machine

Even if you have never used the mentioned appliances in your life, you will still admit that they look incredible in the home interior. They create a unique vintage spirit and will charm anyone, who sees them. The presence of modern computers can’t stop you from enjoying the romantic-looking typewriter.
Telephone

If you can find a street telephone, it will look amazing installed on a wall. But even a typical dial phone can be a good choice for implementing the vintage spirit in your home.
Gramophone

Now this is an idea for true connoisseurs. The gramophone can serve not only as vintage decoration, but it can also be used for playing old records. It’s the perfect addition to a romantic dinner.


]]>

Hello, it’s Johanna again and this week I want to present you another easy and creative tutorial for Valentine’s Day. This year I decided to make a Valentine card for my boyfriend instead of buying him one. Usually, I’m not able to find a card that is not pink or red and that is more suitable for men.
But one day I saw this amazing template on Pinterest and I knew that I was going to use it.

For the tutorial I chose dark purple and silver paper, because I think that these colours are a little bit more masculine. And the pop-up design makes the Valentine card unique, simple and creative. The paper I bought was too thick for the printer and that’s why I decided to draw the template by myself.
So, here is what you need:

- 2 sheets of paper
- a pencil
- a ruler
- scissors
- glue for paper
- a paper knife
Instructions for Pop-up Valentine Card:
Step 1

Grab the pencil and the ruler and start drawing the letter “I”. Mine is 1cm wide, but if you want you can make yours bigger. Some lines should be solid and some – dotted, but I’ll explain later why.
Step 2

After you make the “I”, it’s time to make the heart. You will need a steady hand for it.
Step 3

The last thing you need to draw is the letter “U” and then the sign is complete. It should look like this.
Step 4

Cut the solid lines with the paper knife and fold along dotted lines.
Step 5

Using the scissors, cut 1cm of each side of the silver paper.
Step 6

Spread the glue along the purple paper and then gently press the silver sheet on it, until it’s glued properly.

And the pop-up Valentine card is ready. It turned out pretty well, considering it was drawn by hand. Hope that my boyfriend will be pleasantly surprised, especially when he hears that I did this Valentine card by myself.
Happy Valentine’s Day to all!
]]>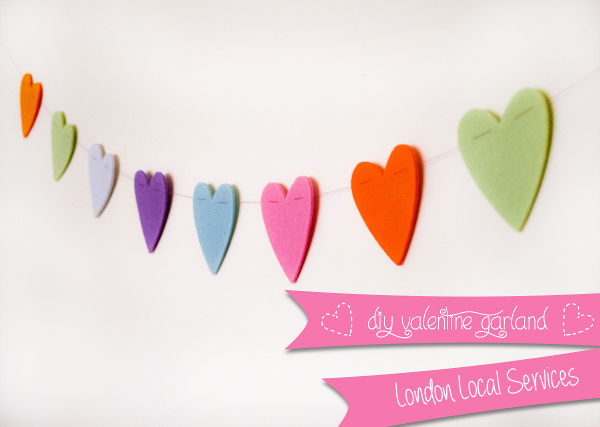
I even decided to decorate my home for the occasion. There is one completely white wall in my living room and it looks so boring and lonely ever since I removed the Christmas lights from it. So, I wanted to give a colourful touch to it and then I had the greatest idea – Valentine hearts garland.
Below I will explain how you can also make one by yourself:
You will need:
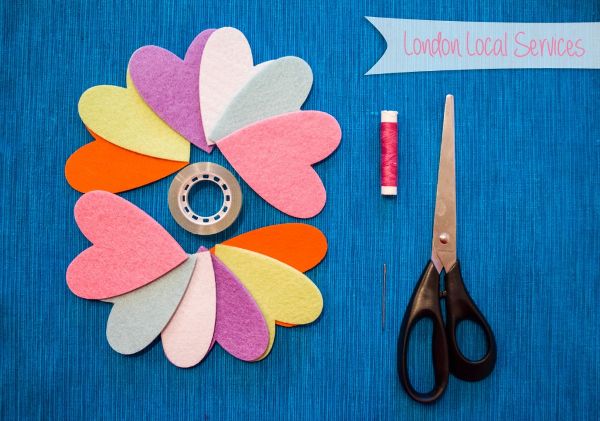
- felt hearts (as many and as colourful as you prefer)
- scissors
- a needle
- thread
- scotch tape
Instructions for DIY Valentine Garland:
Step 1
I bought my hearts straight from a local crafts shop, but if you can’t find such, you may need to cut them out on your own. You’ll need to make a heart template, then draw it several times on the felt and cut out the shapes.
Step 2
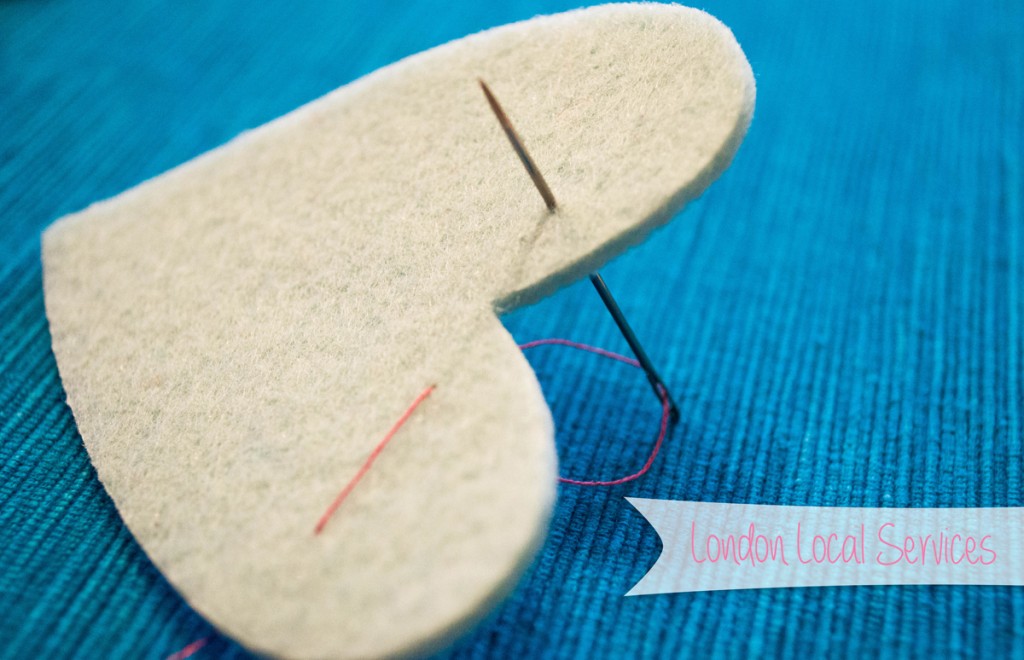
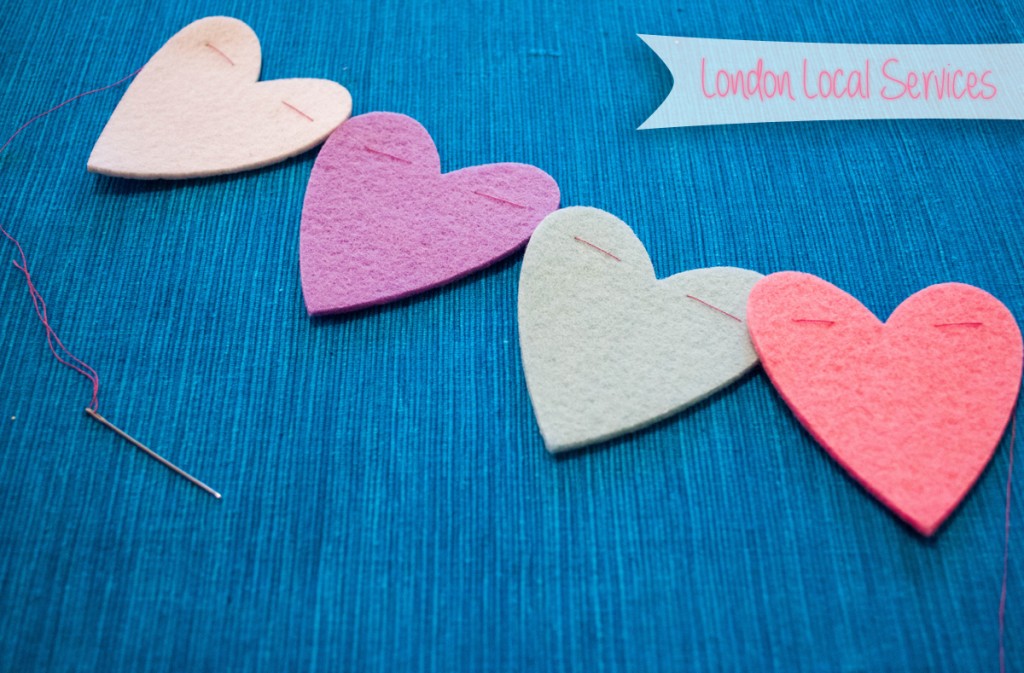
Insert the thread in the needle and start sewing the hearts one by one as shown on the picture.
Step 3
It’s up to you to decide in what order you are going to arrange them. I chose six different colours for my Valentine garland, because I want to use it even after the holiday, so it looks like a spring garland as well.
Step 4
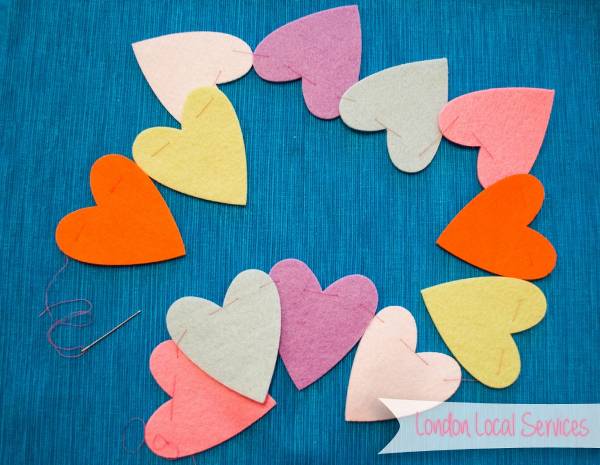
When you have sewn all the hearts, don’t forget to make small knots on both ends, so the hearts won’t slip out. Spread the hearts along the thread at whatever distance you prefer.
Step 5
Hang the Valentine heart garland on a wall or fireplace, using some scotch tape.
And this is it – beautiful and easy DIY idea. I’m so proud of myself, because I created such a simple and lovely garland for Valentine’s Day and I’m sure you’d be too.
]]>Related posts:
No related posts. ]]>
Find more cute and fluffy friends on our Pinterest board “Adorable animals”.
]]>
What You Need
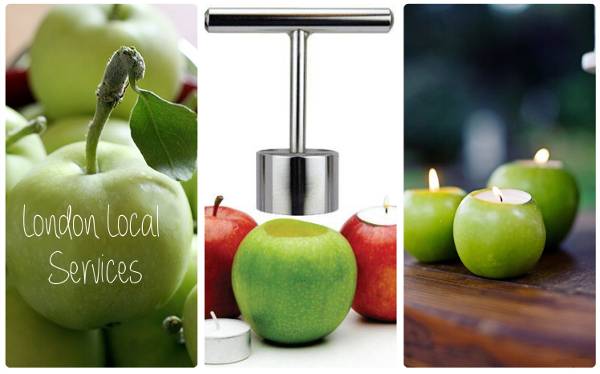
- 3-4 apples
- 3-4 tea candles
- a spoon
- a sharp knife
- a pencil
How to Make the Apple Candle Holder
- Wash the apples with cool water and then dry them with a paper towel.
- With the pencil draw a circle, corresponding to the size of the candles, on top of the apples.
- Cut out the drawn circle with a sharp knife and carve the excess apple filling. Don’t throw it away, because you can use it later for creating a delicious apple pie for example.
- Have in mind that you shouldn’t carve too deep, because it will be hard to see the flame of the candle afterwards.
- Put a tea candle inside the apple and you are ready. Hint: for even more lovely scent you can sprinkle the apple with a dash of cinnamon before putting the candle inside it.

If you have followed these instructions, you will end up with beautiful, inexpensive, aromatic candle holder, which you can place in any part of your home. Put them on the table when you are welcoming guests and they will be pleasantly surprised. You can also use these DIY candle holders as decoration for special occasions like holidays, birthdays, anniversaries and so on.
The only disadvantage of this creative DIY idea is that it won’t last long due to the natural products you will use, but still it is worth it.
]]>
Put the Decoration Away
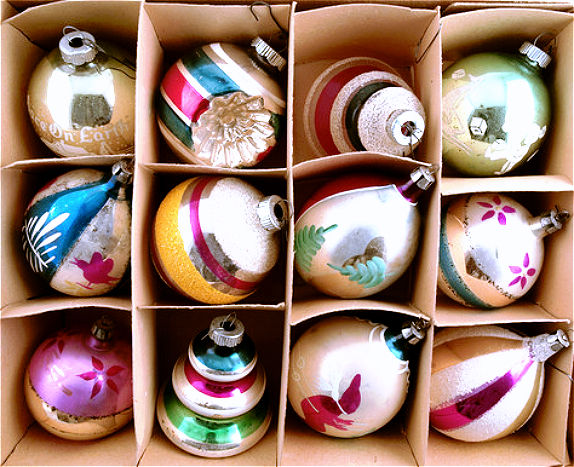
I know that if it was up to you, the Christmas decoration will stay longer than a month. But it will only remind you that the holidays are over. So if you don’t want to feel nostalgic about the past magical days, better put away the decoration. Check if there are any broken ornaments, so you don’t waste time next December when you hang them again. Wrap the other ornaments in old newspapers or napkins, so they won’t gather dust during the year or scratch each other. Put the decoration in boxes and then label them, so you won’t forget what you placed inside.
Clean the Fridge

I am sure that you have food leftovers from New Year’s Eve, but there is always something more delicious and freshly cooked, which you prefer to eat first. Therefore, check the expiration dates of the old products in the fridge, in order to know what you have in store and till when it’s good to consume. Don’t keep the leftovers for days, if you have no intention to eat them, because you risk to contaminate your fridge with bacteria, which will result in more hours spent cleaning.
Express Cleaning
The express cleaning is not just a dream. You can actually achieve it once you have put the decoration away, cleaned the fridge and every item has taken its usual place. It is enough to wipe off the furniture dust, dispose the garbage and vacuum the floors. Don’t forget to hoover under the furniture too, because your children might have stacked some popcorn, candies or toy elements underneath.
Did you use fake snow for decorating your windows? You can clean it off by creating a solution of one part alcohol and three parts water. It may need some hard scrubbing to come off but in the end you will have clean windows again. If there are stains from the alcohol, you can remove them with warm soapy water.
If you have to go back to work straight after the holidays and you don’t have time for cleaning, I recommend you to hire a flat cleaning team from London to do the job, like this one.
Check Your Mini Bar
During the holidays, people often have occasions for making toasts and you can tell that by the lack of alcoholic beverages in your home mini bar. Make a quick revision of its content, so you will know what to buy next time you go shopping.
]]>